
Little Boy is getting ready to move into his Big Boy bedroom in a couple months (already?!) and one thing he'll be needing is a new place to put dirty laundry. I found this laundry bag tutorial on pinterest, I think, and borrow a good bit from it. I like that it can hang in the closet, on the door, and even on the door knob, if you don't make it too long. The hanger can come out and there are no rough edges (french seams) so that the whole bag can be thrown in the wash. I added a couple ribbons to the inside of the bag too so that it can be taken in a suitcase and tied up a little.

You will need:
straight pins
maybe 15" of elastic
hanger
1 yd. ribbon
2/3 yd. main fabric
1/4-1/3 yd. hanger fabric
thread
I'm still not very good at tutorials, so bear with me, please.
First, fold your hanger fabric in half and set your hanger on top. I traced very generously around my hanger and I actually should have been even more generous. Give it at *least* an inch wider than your actual hanger. Leave a generous opening for the hook of the hanger too. It will get smaller and smaller as you sew. Leave a good three inches of fabric available below the bottom of the hanger. I didn't leave that much, but it might have been nice.

Now go ahead and lay your main fabric out on your cutting area. Leave it folded in half the way it comes off the bolt at the store. Cut it the length that you want your bag to be (remember that the hanger will add to this length as well). Be sure your corners are square. Now you're gonna sew a french seam down the long side. This means sew with the *wrong* sides together (right sides facing out). My seam was about the width of the foot, a little over 1/4" wide. Don't forget to backstitch a couple times at the beginning and end of each of your seams for this project.

Now flip the tube you just created inside out and pin the seam the opposite direction.

Sew it as follows, with a wider seam, maybe 3/8" or even wider:

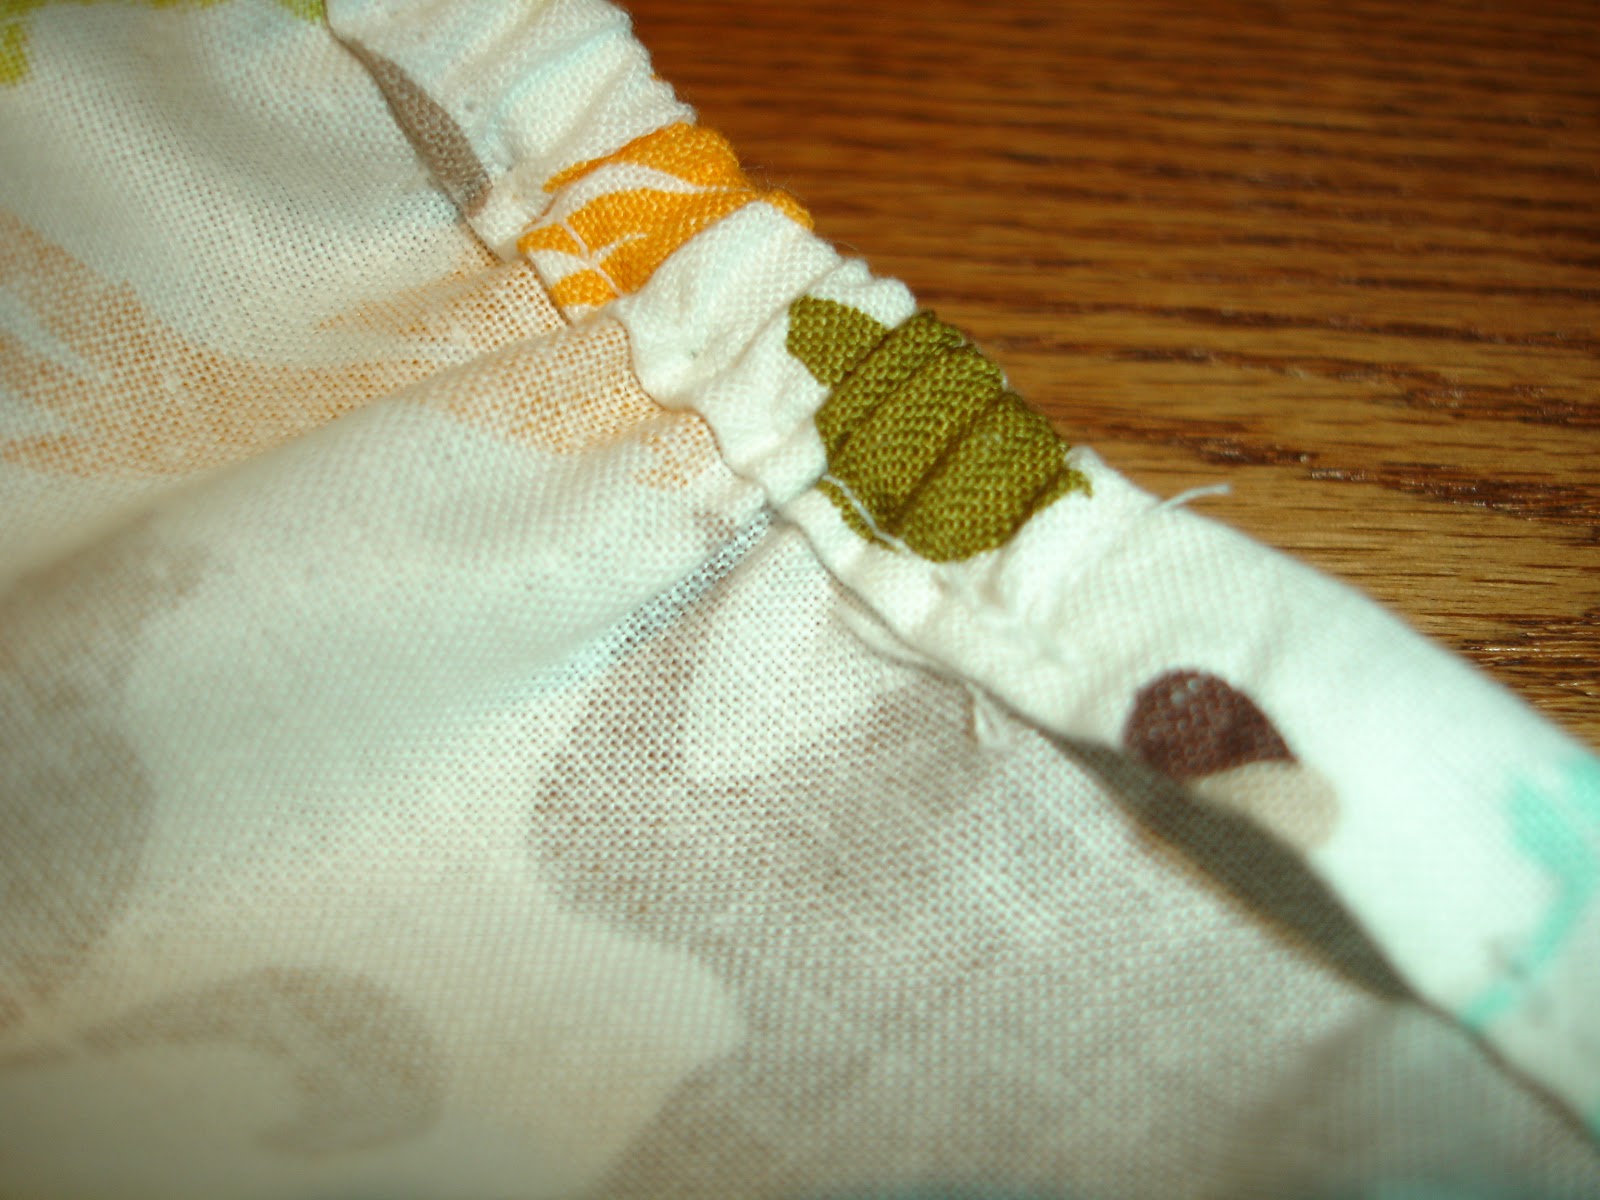
Now pick the end of the tube that will be the top of your bag. Fold the edge down twice to create a casing wide enough for the elastic. The elastic will only go across the front of the bag, but go ahead and make the casing all the way around, leaving two small openings for the entrance of your elastic. For this, I should have taken a picture, but didn't. Bad tutorial. So...take a look at the picture of the whole bag:

The back of the bag (the part without elastic) is only as wide as the hanger. So measure your hanger and set this measurement (something like 14" maybe) in the middle of the back half of your bag. Ok, if you left your 'tube' inside out, fold it exactly so your fancy french seam is on one side. Then mark your 14 inches in the center of that, along the top of your tube. Stick a straight pin on either side of the 14" to help you remember to leave little gaps in your casing in exactly those two spots. Gaps for your elastic to enter through.
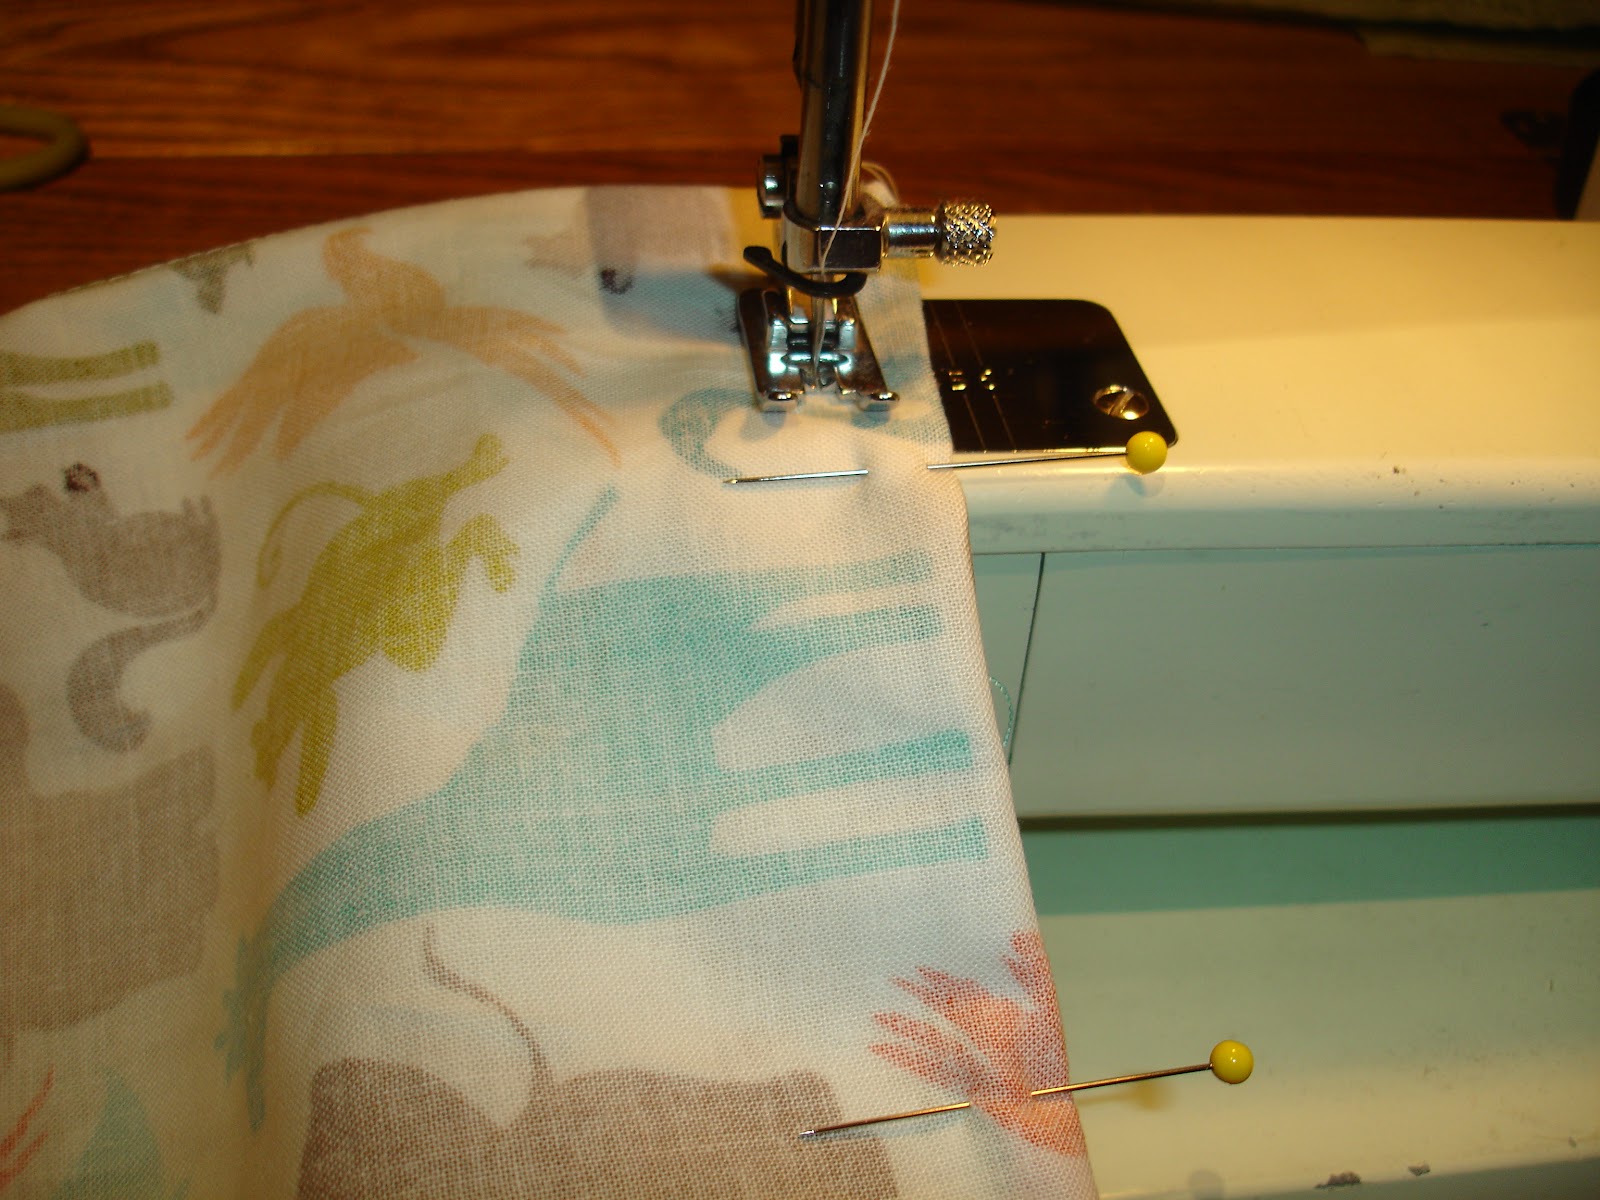
Ok, sewing your casing now:

Thread your elastic through the casing. (Remember to thread through the longer front side as opposed to the shorter back side of your casing.) I use a safety pin like this:

Try not to pull your elastic too far into your casing. I usually straight pin the tail of the elastic at that opening so it doesn't get sucked in, never to be seen again. Then, go back and sew the elastic in place really well. Sorry it's so hard to see my thread in this picture below. After you tack down the elastic on both ends, sew up your gaps in the casing.
Sew another french seam along the very bottom of your bag:
Done with the main part of the bag!
Now for the hanger. Fold the top edge of your hanger pieces down twice.

Sew across like this:

Do the same thing for the bottom edge of your hanger pieces. Note: I made the front piece shorter and the back piece longer. Do whatever floats your boat, it probably doesn't matter.

Set your two hanger pieces on top of one another, wrong sides together, right sides facing out.

Sew two more french seams, one down each side of your hanger pieces:


Now set your beautiful hanger top so that it is just overlapping the bag. If you made one side of the hanger bit shorter than the other, put the shorter side overlapping the bag. The longer side is facing the back of the bag.

Sew the hanger thing onto the bag, being careful not to catch the *back* hanger piece in the seam. The back piece should just hang loose.

I added a couple ribbons to keep everything in place at the back of the bag. You could add some to the front as well if you wanted.

Tada!

That is awesome! Thank you for sharing your tutorial! I've been looking for a way to hang my hamper, instead of having one of the floor. If I cannot find what I want, I may have to try making this! Thanks so much!!!
ReplyDeleteThis is exactly what I was looking for.... love it... thanks...
ReplyDelete